How Can We Help?
2. Exporting GIS Data
Now we’ve defined the extents for our UE4 landscape, we need to export the GIS data into formats that can be imported in to UE4. We’ll start with the height map first, then we’ll export the aerial and vector data.
EXPORT DTM DATA
Follow the steps below to export the DTM data you’ll need to create your landscape in UE4.
Step 1
Select the area to export:
- Click on the ‘Digitizer Tool’ and then click on the ‘AOI’ area feature you created earlier to select it.

Step 2
Turn off aerial & vector layers:
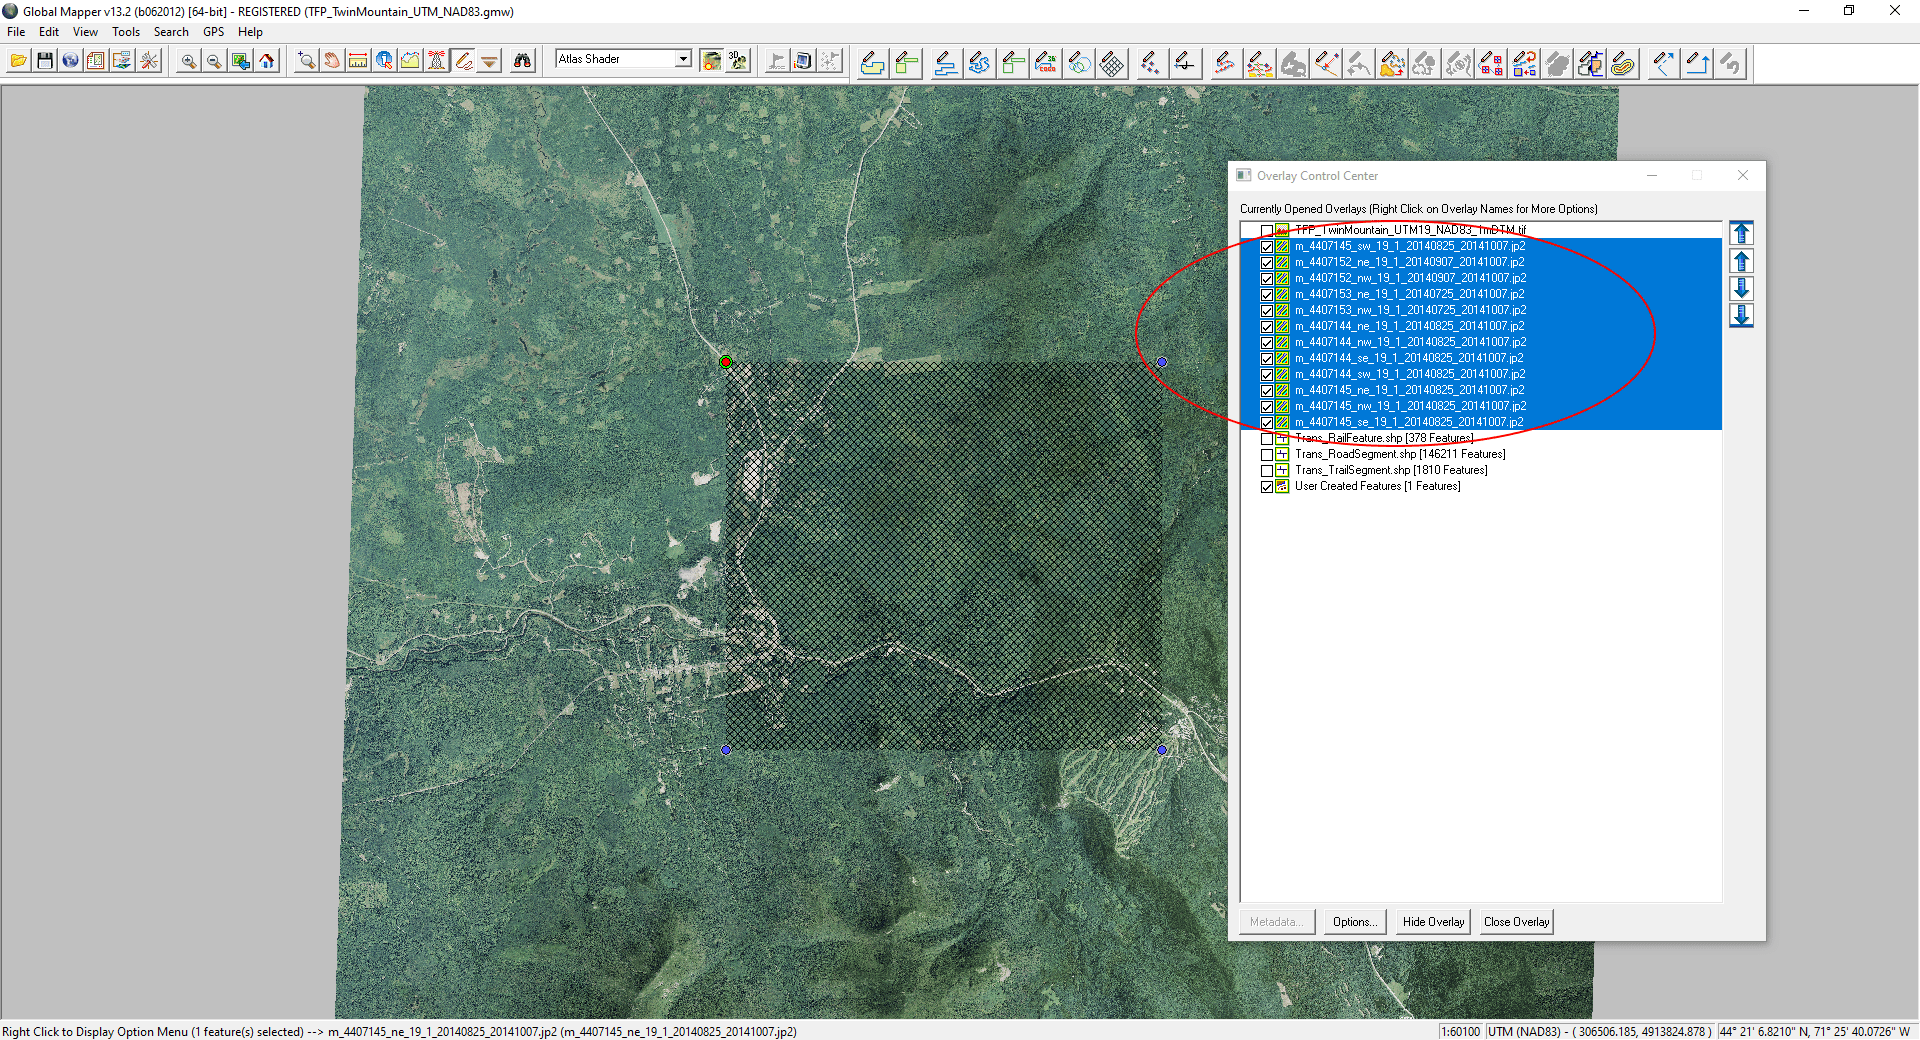
- Click the ‘Open Control Center’ icon.
- Select the aerial and vector layers (not ‘User Created Features’ – that’s where your ‘AOI’ is stored.)
- Click ‘Hide Overlay’. (‘Hide Overlay’ changes to ‘Show Overlay’ when selected layers are hidden.)

Step 3
Export the DTM to the extents of your AOI:
- ‘File’ > ‘Export Elevation Grid Format…’
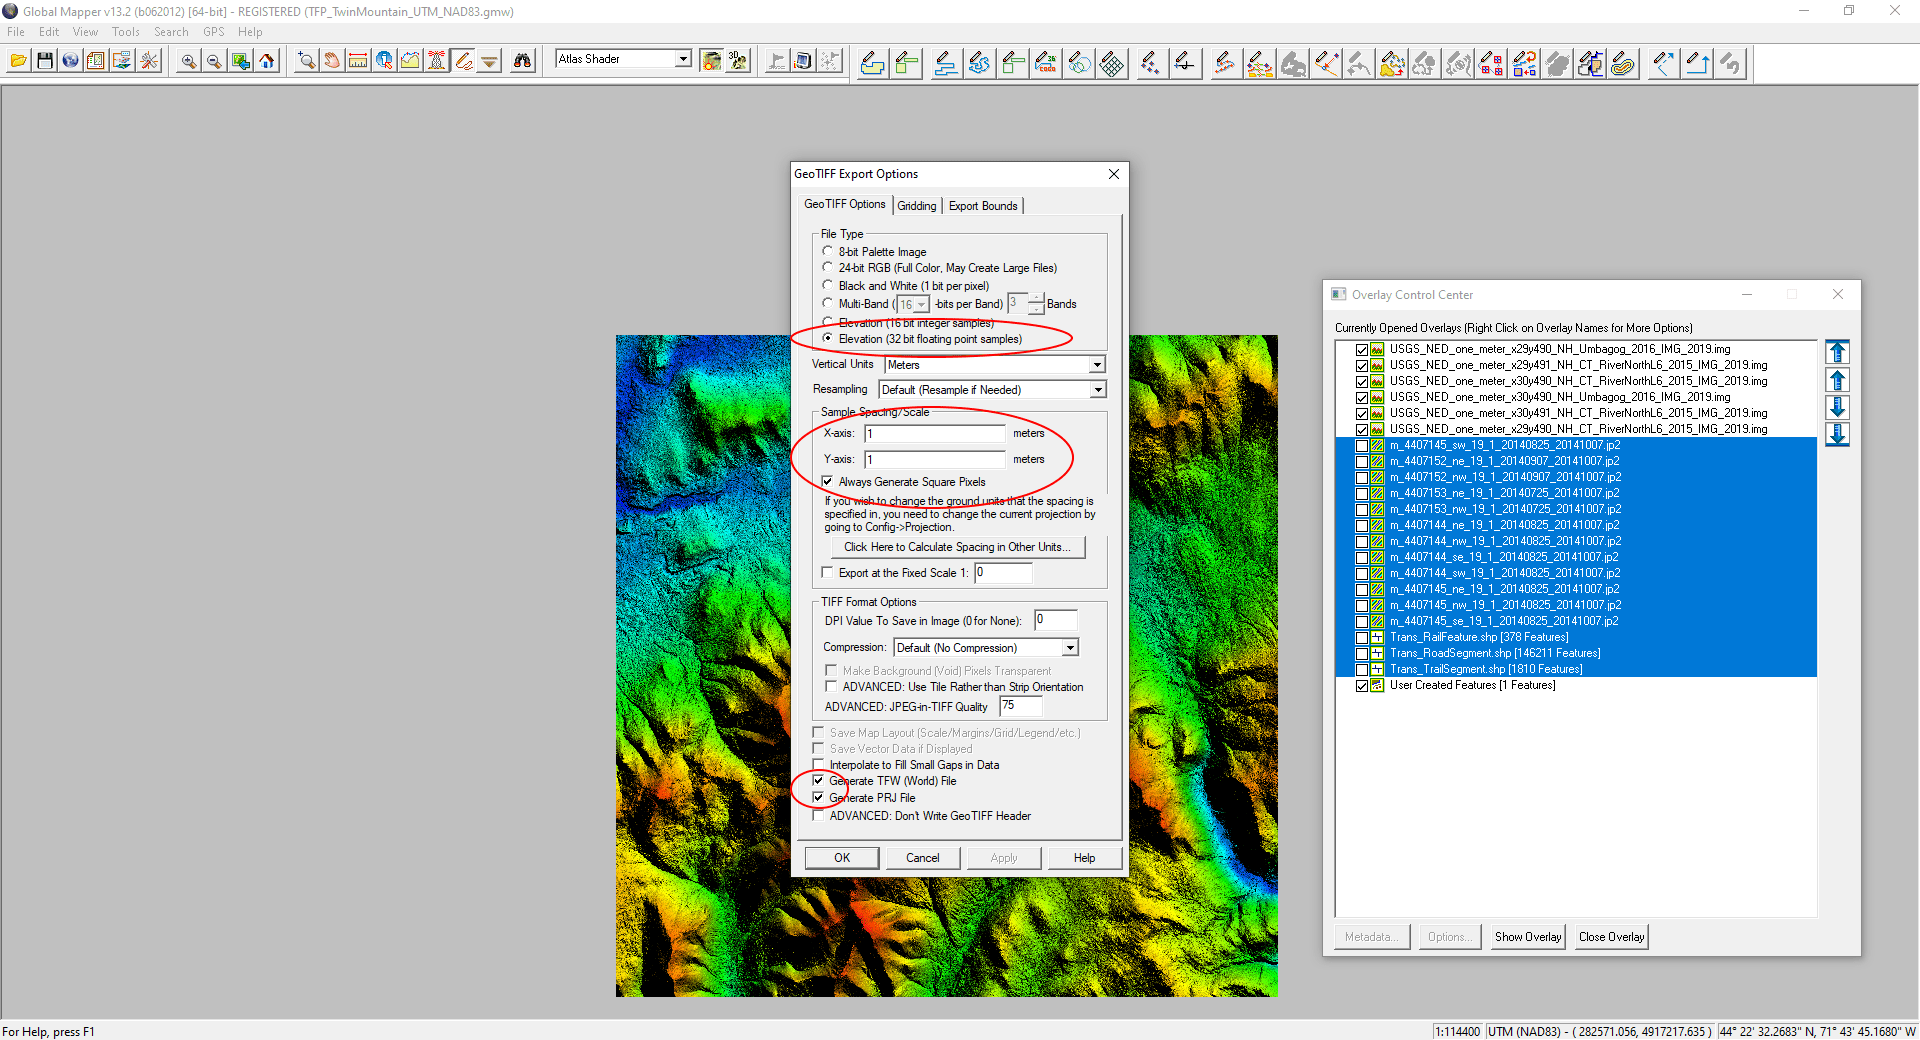
- In the ‘Select Export Format’ window select ‘GeoTiff’ then ‘OK’.
- Choose ‘Elevation (32 bit floating point samples)’.
- Change ‘Sample Spacing/Scale’ as follows: ‘X-axis:’ = ‘1m’, ‘Y-axis:’ = ‘1m’
- Check ‘Always Generate Square Pixels’.
- Check ‘Generate TFW (World) File’.
- Check ‘Generate PRJ File’.
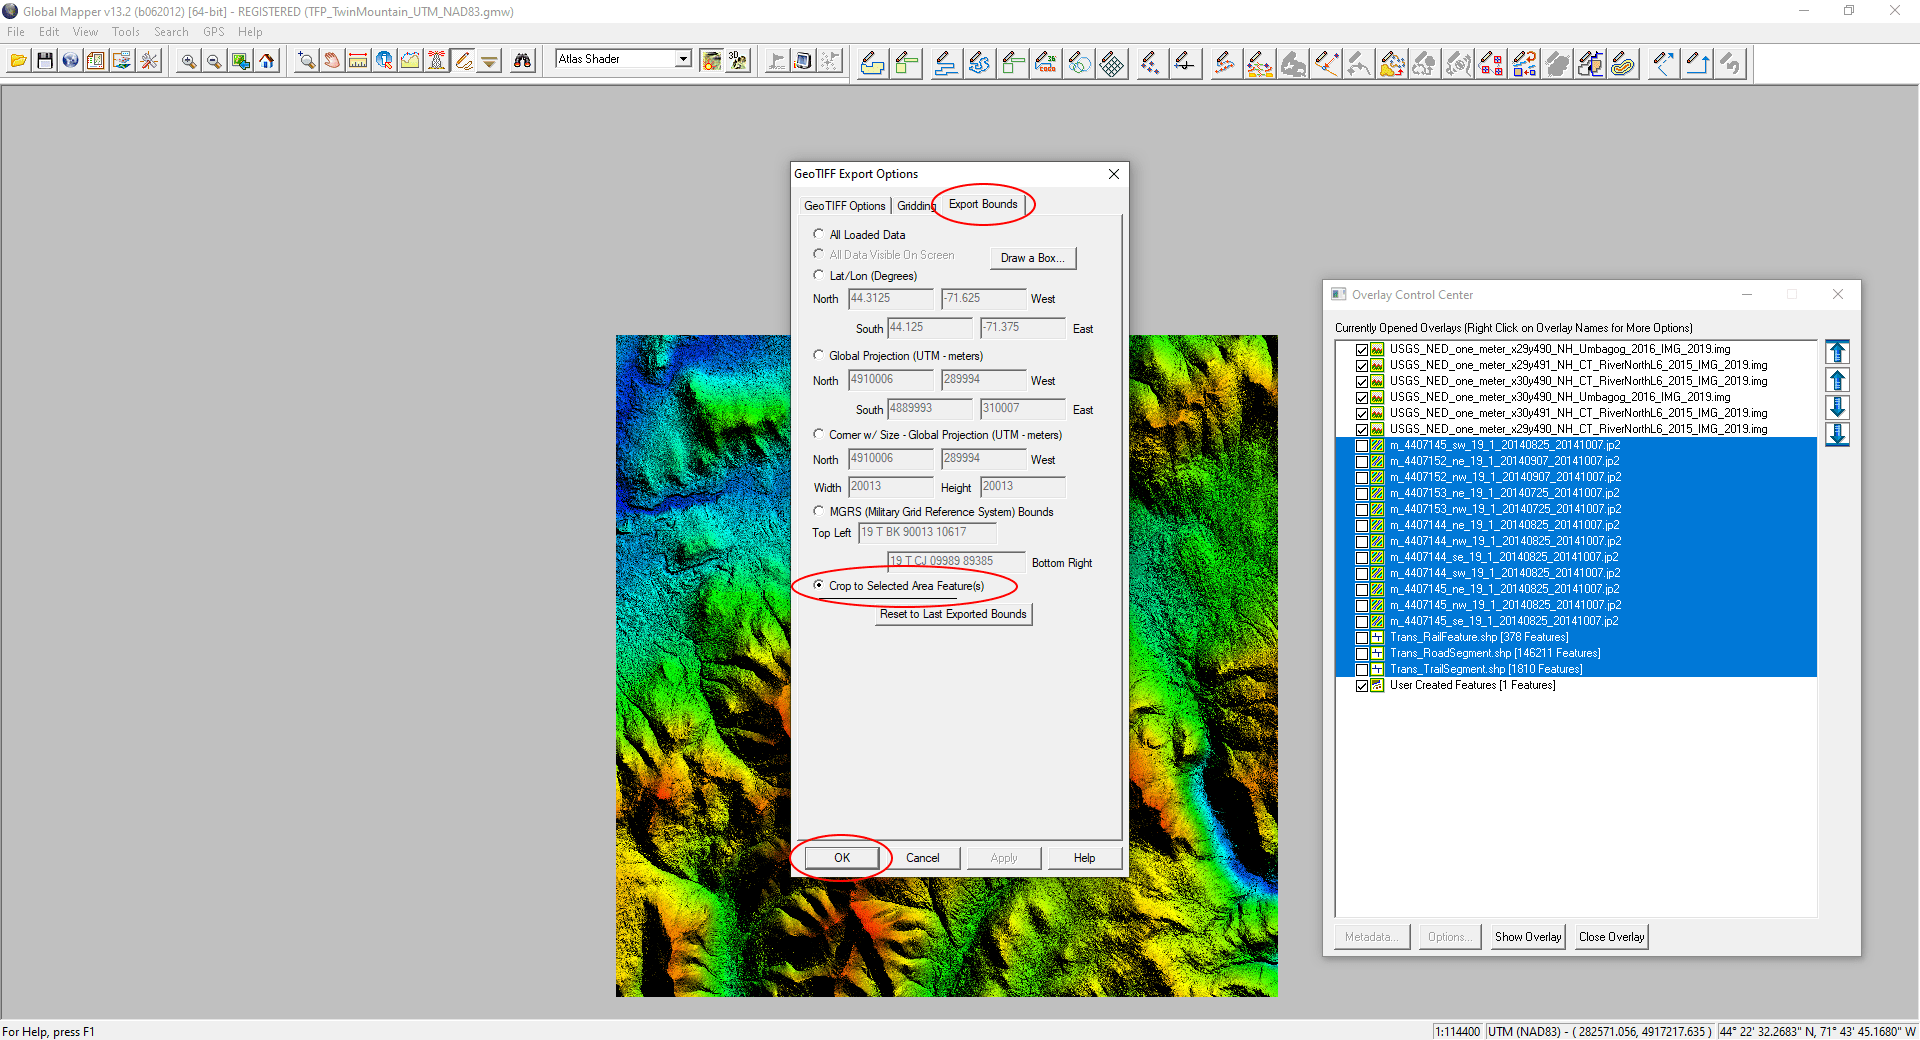
On ‘Export Bounds’ Tab:
- Check ‘Crop to Selected Area Feature(s)’.
- Click ‘OK’.
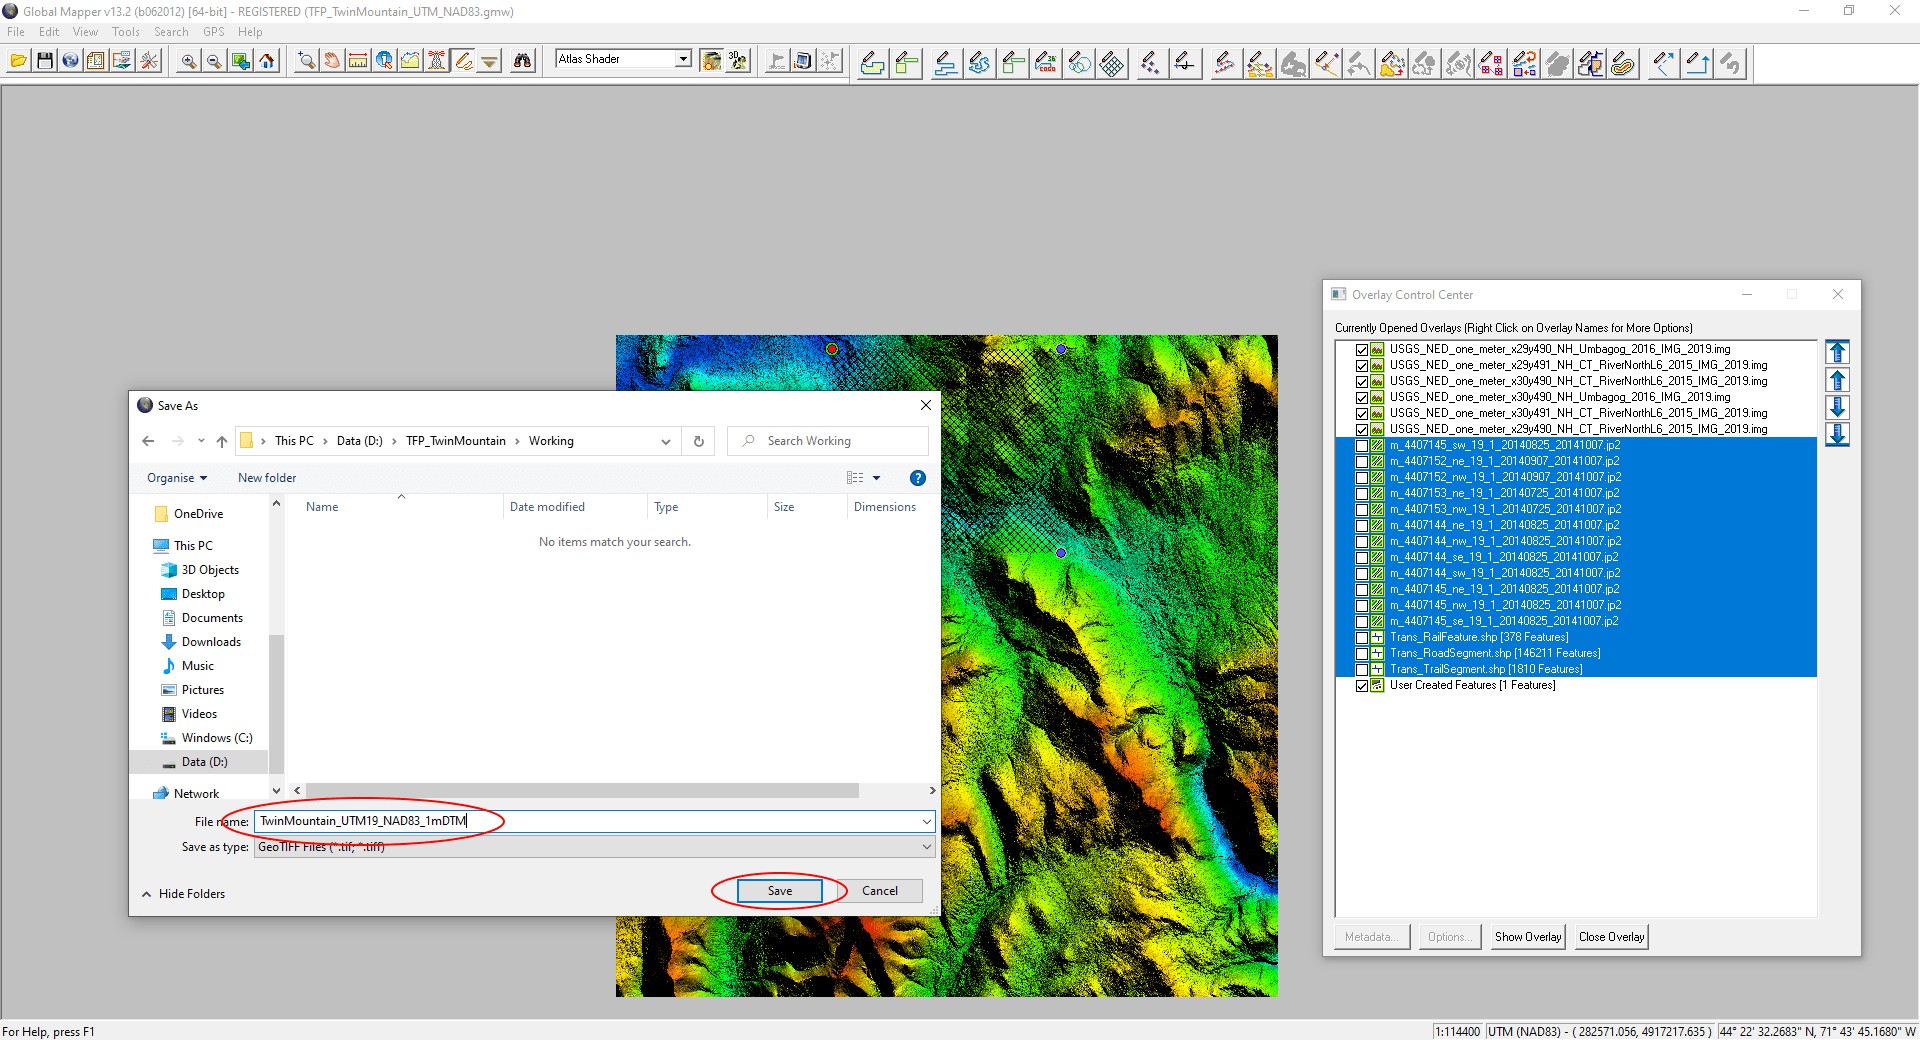
In the ‘Save As’ window that appears:
- Give the DTM file a useful filename and save it in a folder for working files.
[NOTE: UTM19 is the projection for the data (Universal Transverse Mercator Zone 19), and NAD83 is the datum (North American Datum, 1983).]
Step 4
Close the DTM tiles and load the 32-bit DTM GeoTiff you just exported.
- Open the ‘Overlay Control Center’ in GM and select the DTM ‘.img’ file overlays.
- Click ‘Close Overlay’.
- Then find the DTM GeoTiff you exported earlier and drag it in to GM to check it exported correctly.
EXPORT AERIAL IMAGERY
We’re using the aerial imagery to create masks for landscape surfaces and vegetation. UE4 requires the layer masks to be the same resolution as the landscape. We haven’t defined that yet, so we’ll just export the aerial imagery to the same resolution and extents as the DTM. We want a 24-bit Geo-tiff – a format we’ll be able to use in Photoshop.
[NOTE: DTM Geo-tiff files are formatted as PixelIsPoint, meaning that the value of height value of the DTM for a pixel is taken as the centre of the pixel. Aerial images on the other hand use PixelIsArea, meaning that the colour of the pixel is applied to the whole pixel and the coordinates refer to the top-left corner of the pixel. As a result, exporting the aerial image using the same AOI and the same pixel size will result in GeoTiff file that is 1pixel smaller than the DTM. This is fine. We need to resize the aerial in Photoshop later.]
Step 1
Show the aerial imagery and hide DTM:
- In ‘Overlay Control Center’, select the DTM, then ‘Hide Overlay’
- Then select the aerial files and ‘Show Overlay’.
[NOTE: The ‘User Created Features’ layer is showing and the ‘AOI’ area feature we created is selected (with the ‘Digitizer Tool’).]
Step 2
Export the aerial:
- ‘File’ > ‘Export Raster/Image Format…’
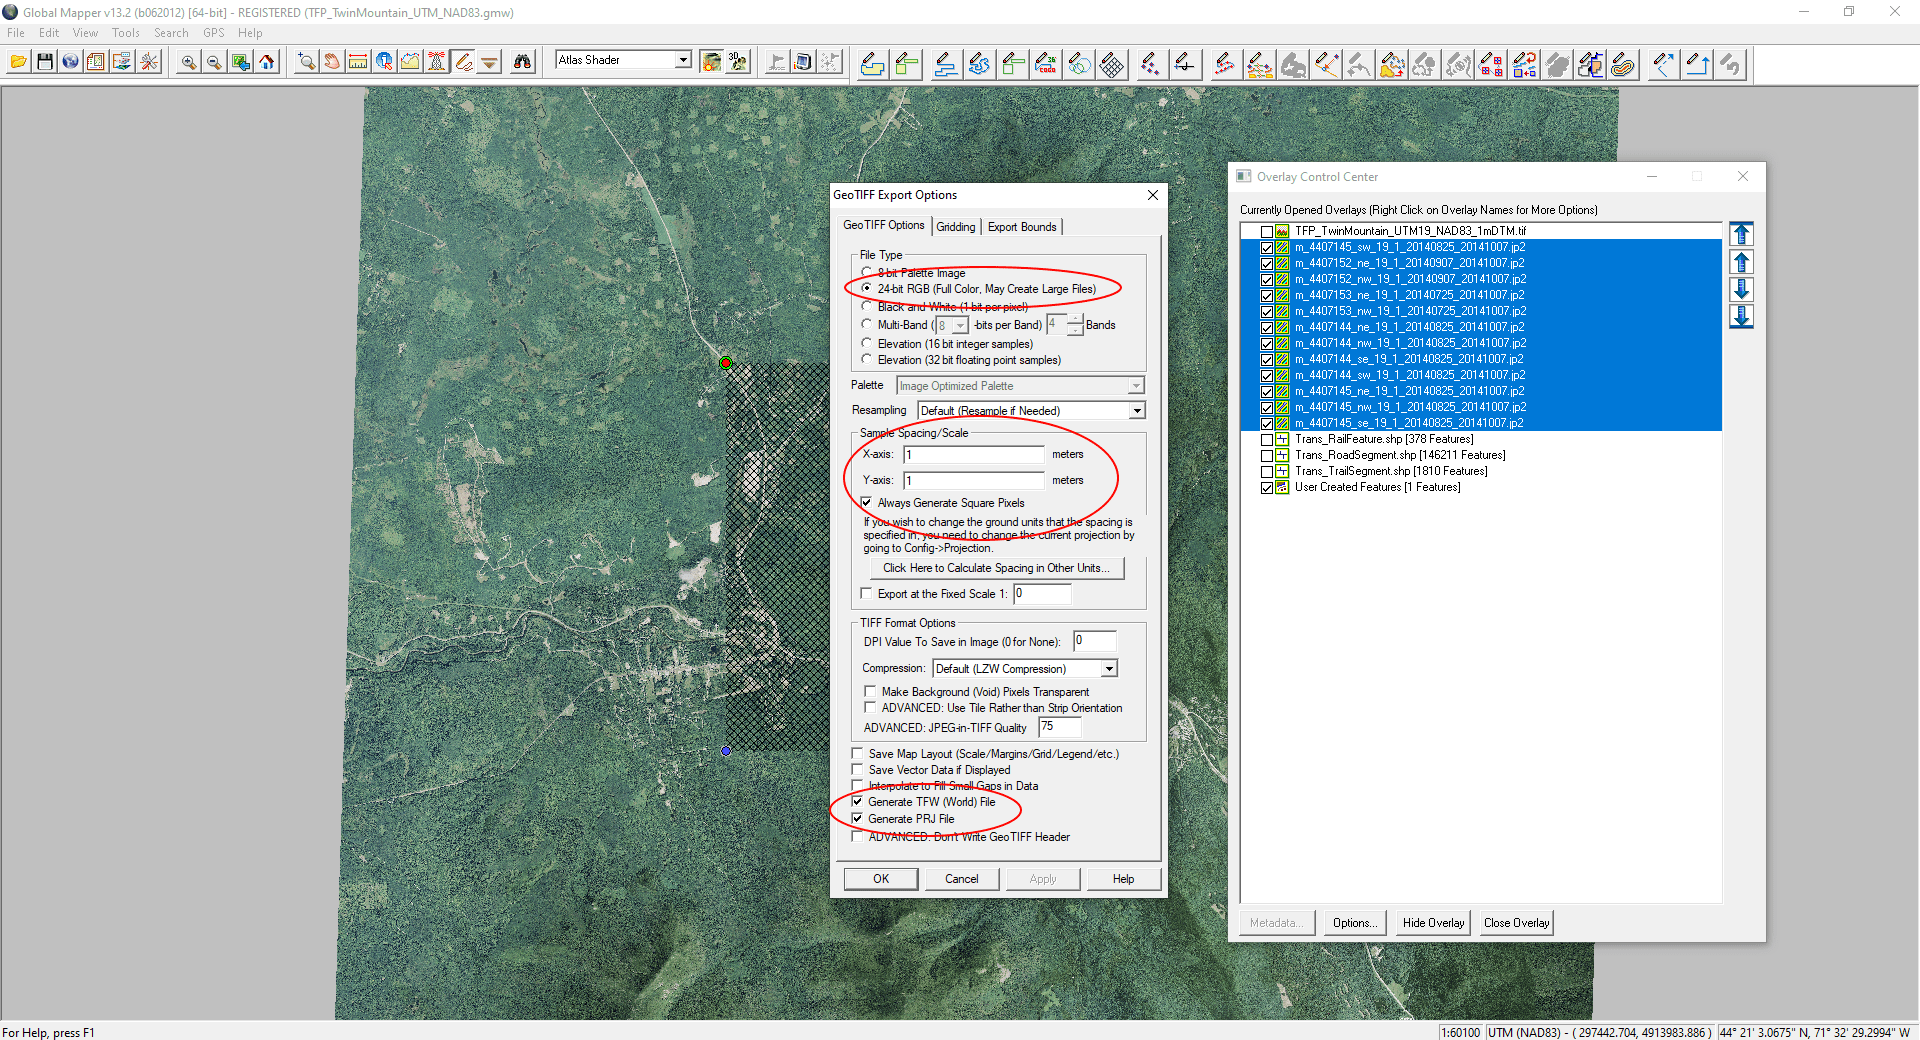
- In the ‘Select Export Format’ window select ‘GeoTiff’ then ‘OK’.
- Check ’24-bit RGB’.
- ‘Sample Spacing/Scale’: (‘X-axis’: ‘1m’, ‘Y-axis’: ‘1m’)
- Check ‘Always Generate Square Pixels’.
- Check ‘Generate TFW (World) File’.
- Check ‘Generate PRJ File’.
Step 3
On the ‘Export Bounds’ tab:
- Check ‘Crop to Selected Area Feature(s)’.
- Click ‘OK’.
- Save the aerial export file with useful filename.
EXPORT VECTOR DATA
We want to keep the rail, road and trail vectors separate, so we need to export them individually.
Importing vector lines into UE4 that have vertices on the boundaries of the landscape (DTM) can cause problems when clamping the spline control points to the landscape. To avoid this we can scale the AOI down slightly, so we’re exporting from an are that is within the DTM coverage.
We’ll start with the rail vectors.
Step 1
Scale the AOI to make it a little smaller (you may wish to save a version of the GM workspace beforehand so you can easily go back:
- Use the ‘Digitizer Tool’ to select the ‘AOI’ area on the ‘User Created Features’ layer, <right-click> and select ‘ROTATE/SCALE – Rotate/Scale Selected Feature(s)’.

Step 2
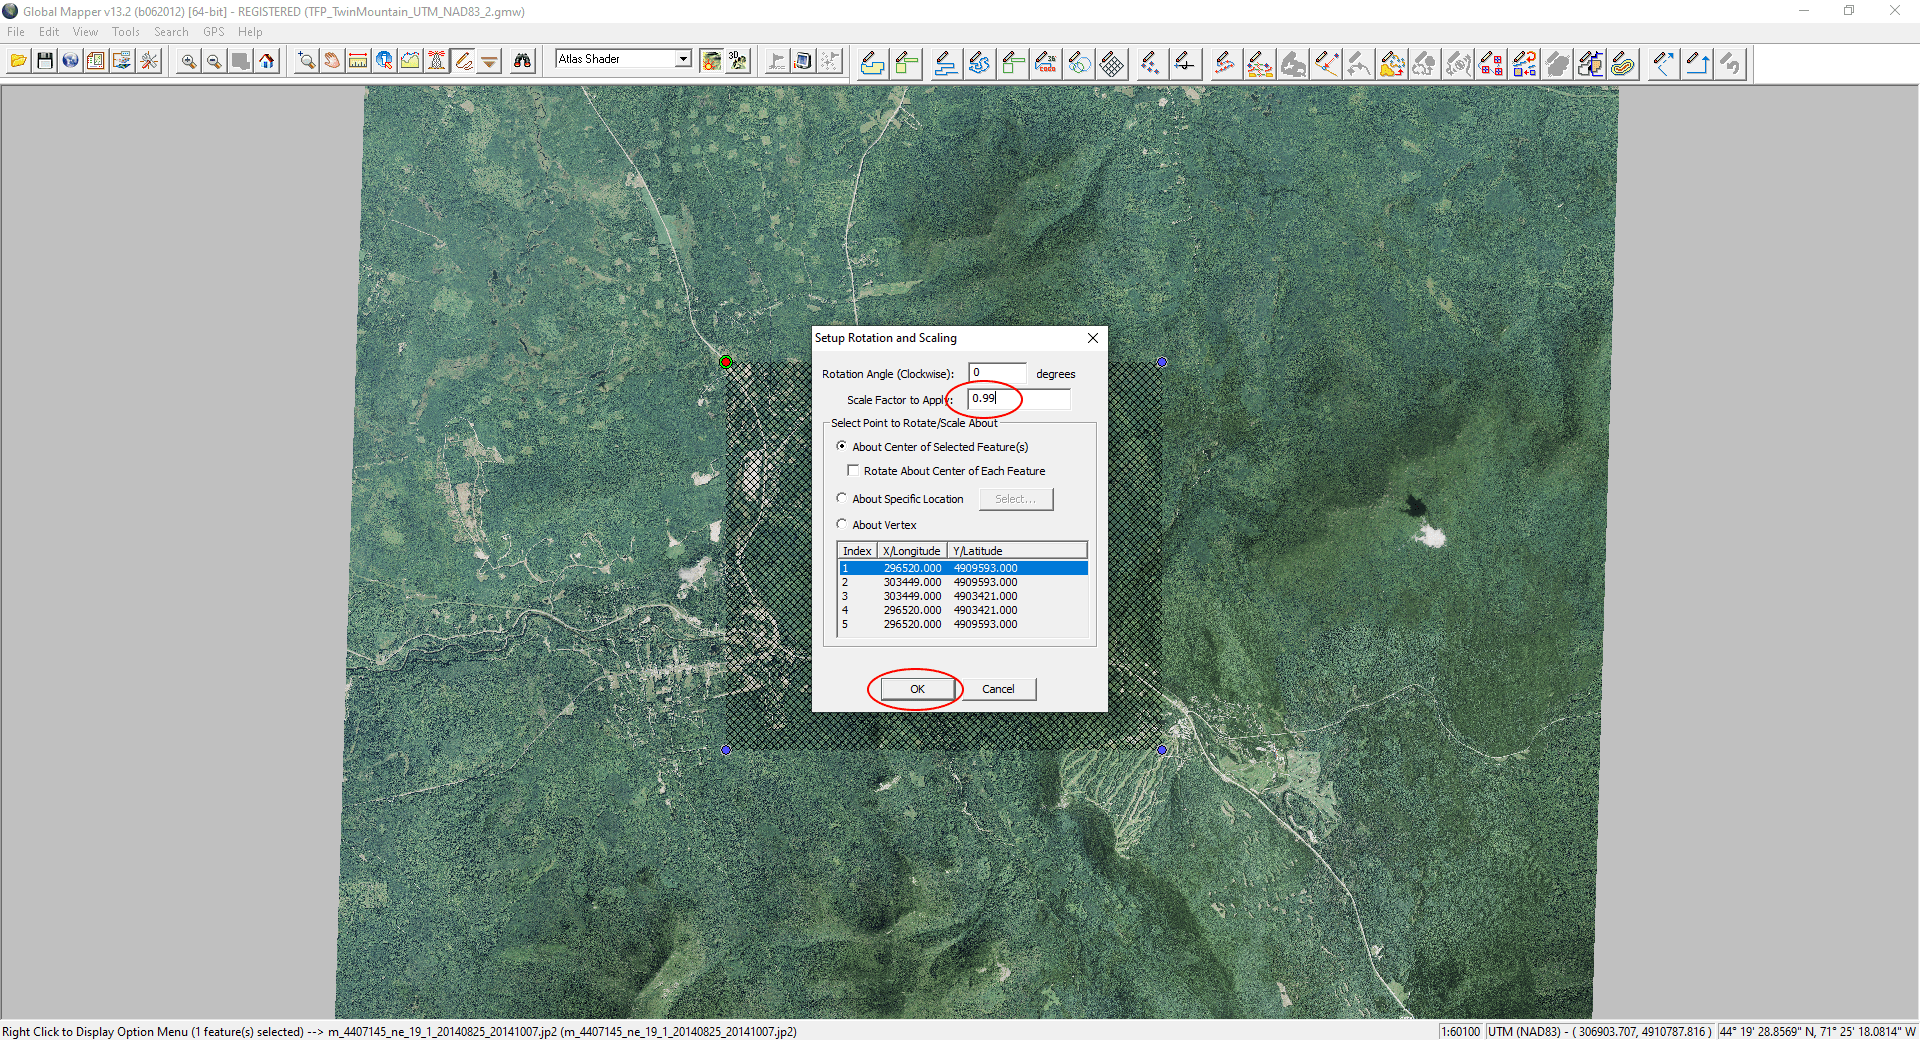
Scale the AOI:
- Set the scale factor to just below 1 and click ‘OK’. We’re using 0.99 in this example.
Step 3
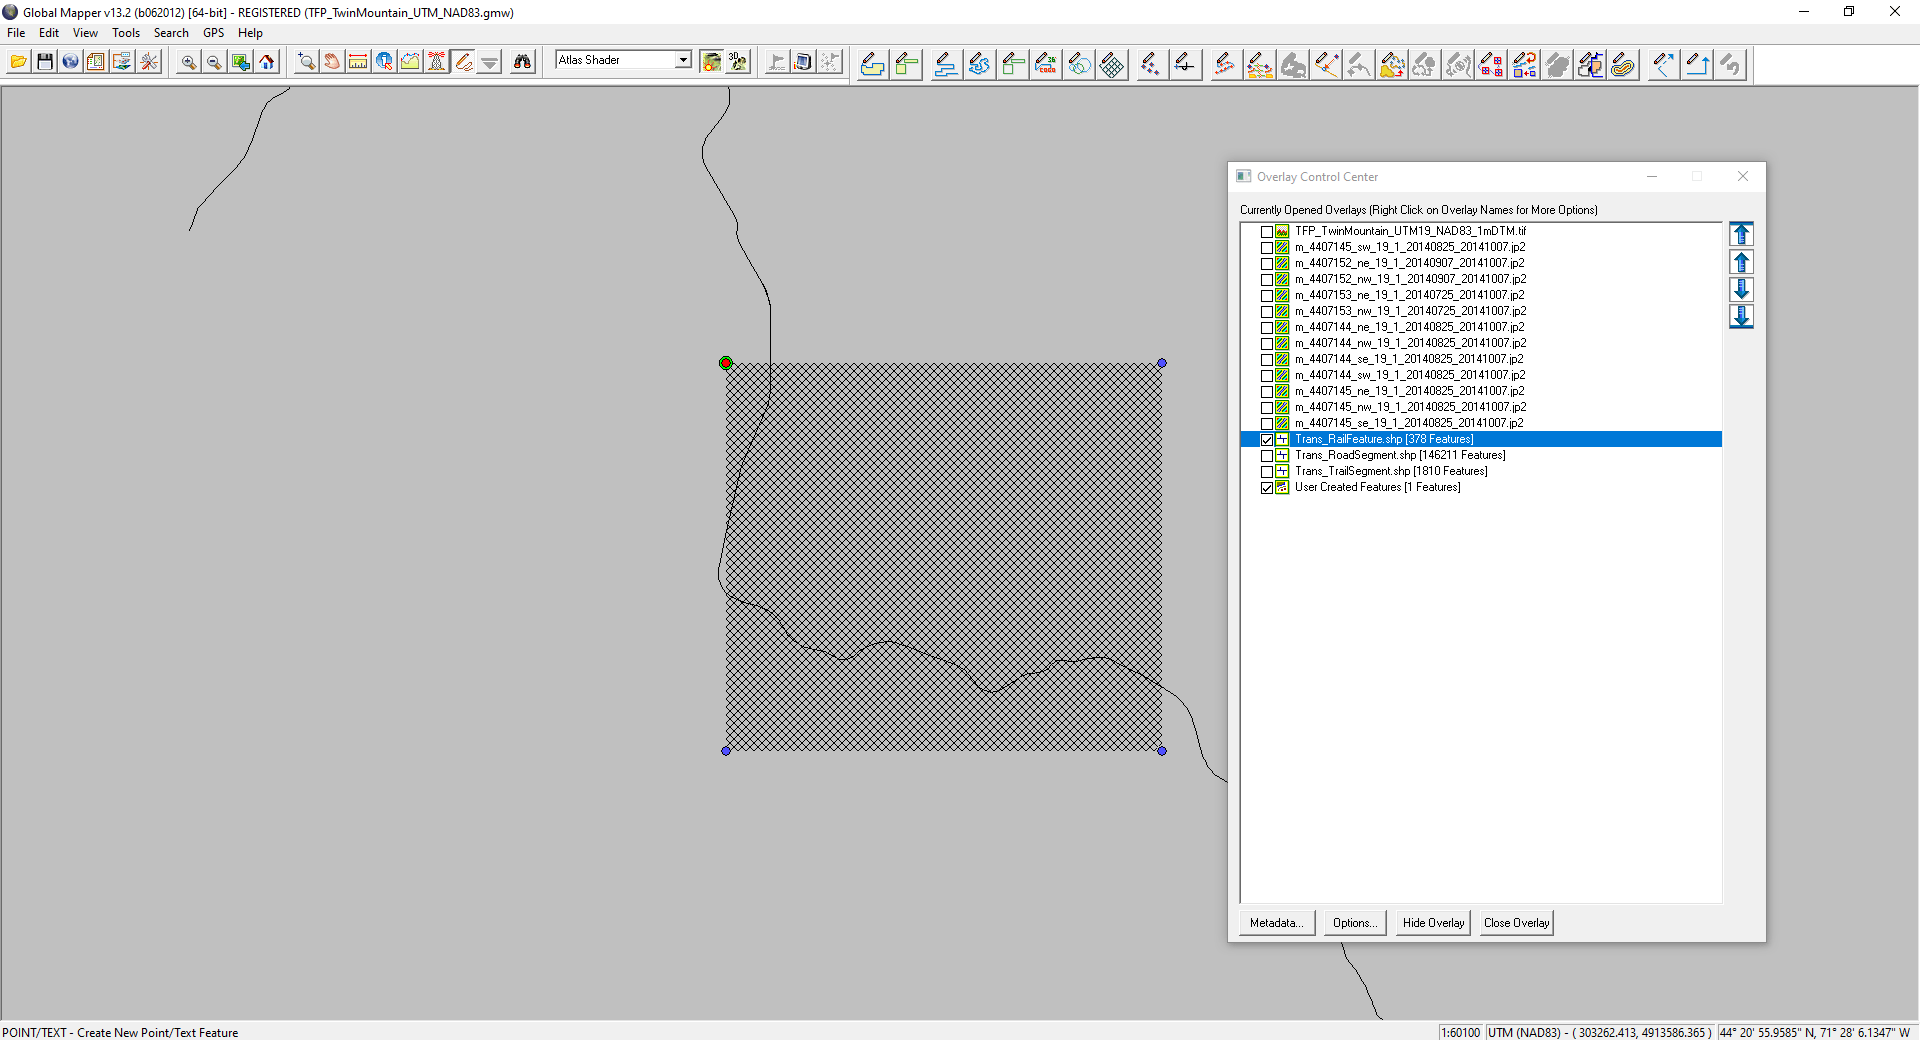
Show the rail vectors aerial imagery and hide DTM:
- In ‘Overlay Control Center’, hide the aerial images and show the rail vector overlay.
- The ‘User Created Features’ layer is still showing and the ‘AOI’ area feature is selected (‘Digitizer Tool’).
Step 4
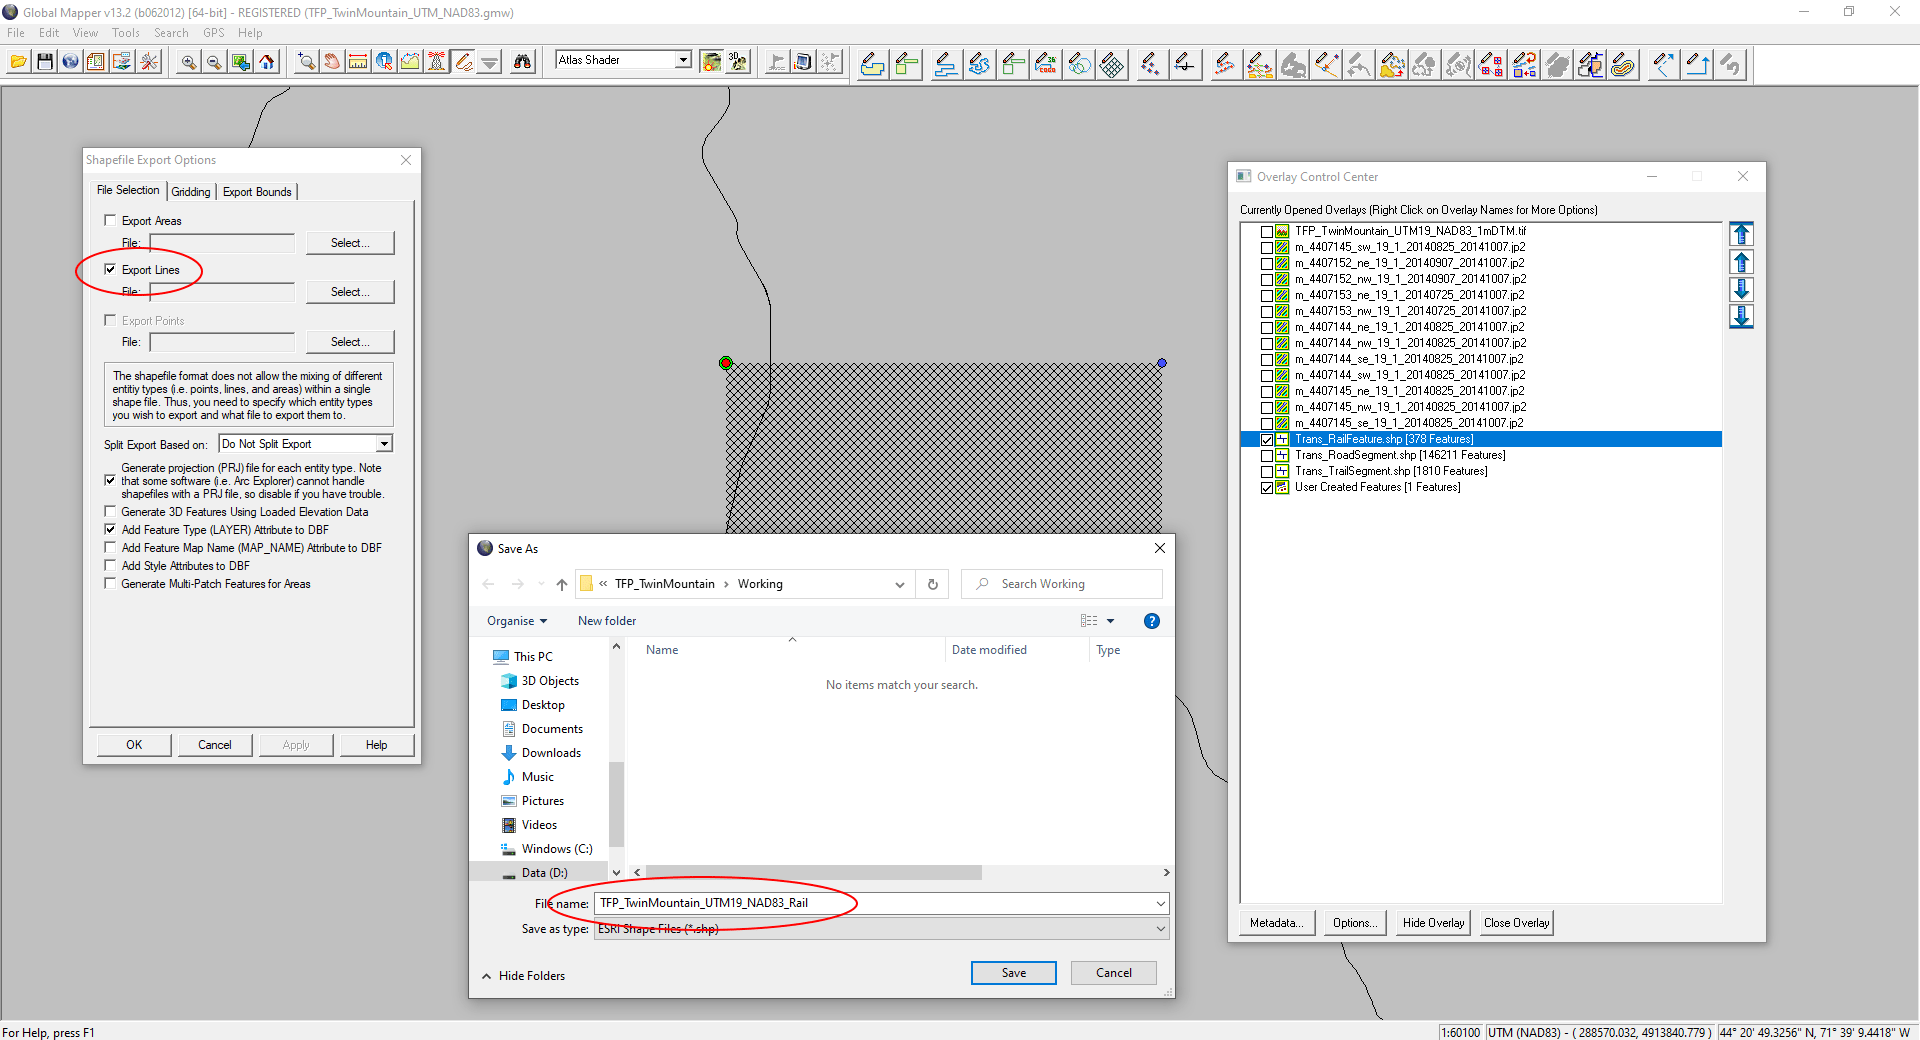
Export the rail vectors:
- ‘File’ > ‘Export Vector Format…’
- ‘Select Export Format’ > ‘ShapeFile’
- On the ‘File Selection’ tab of ‘ShapeFile Export Options’ check ‘Export Lines’.
- A ‘Save As’ window will appear – navigate to your exports folder and give the file a useful name.
- Click ‘Save’ to return to the ‘ShapeFile Export Options’ window.
Step 5
Set the AOI as export bounds:
- On the ‘Export Bounds’ tab check ‘Crop to Selected Area Feature(s)’
- Hit ‘OK’ to export the rail vectors file.

Step 6
Repeat Steps 3 to 5 for the road and trails vector files.
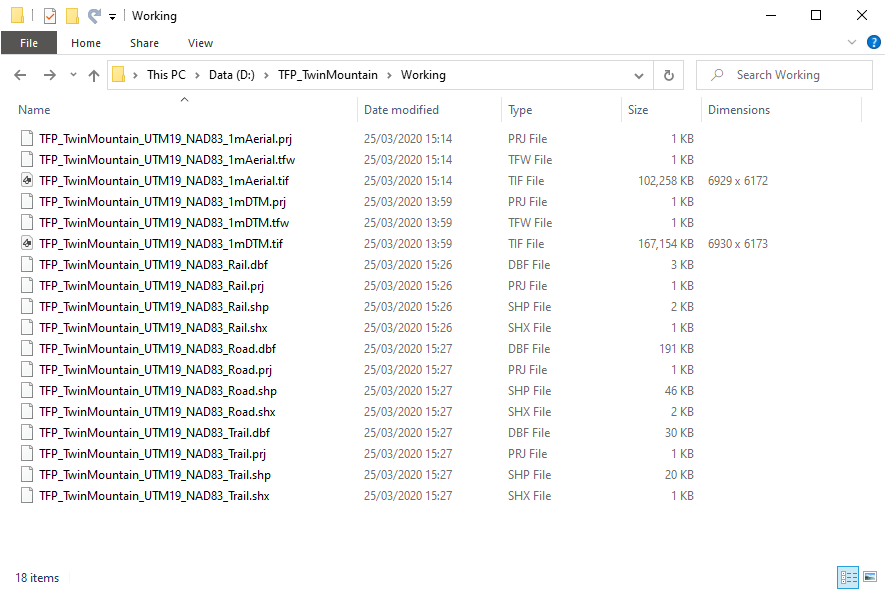
Your exported data folder should look something like this: